Sunday 16 September 2018

Dusty Attic - September Project


I love using photos that show little moments in life. This photo of my grandson Noah exploring nature when he was out with his mum.

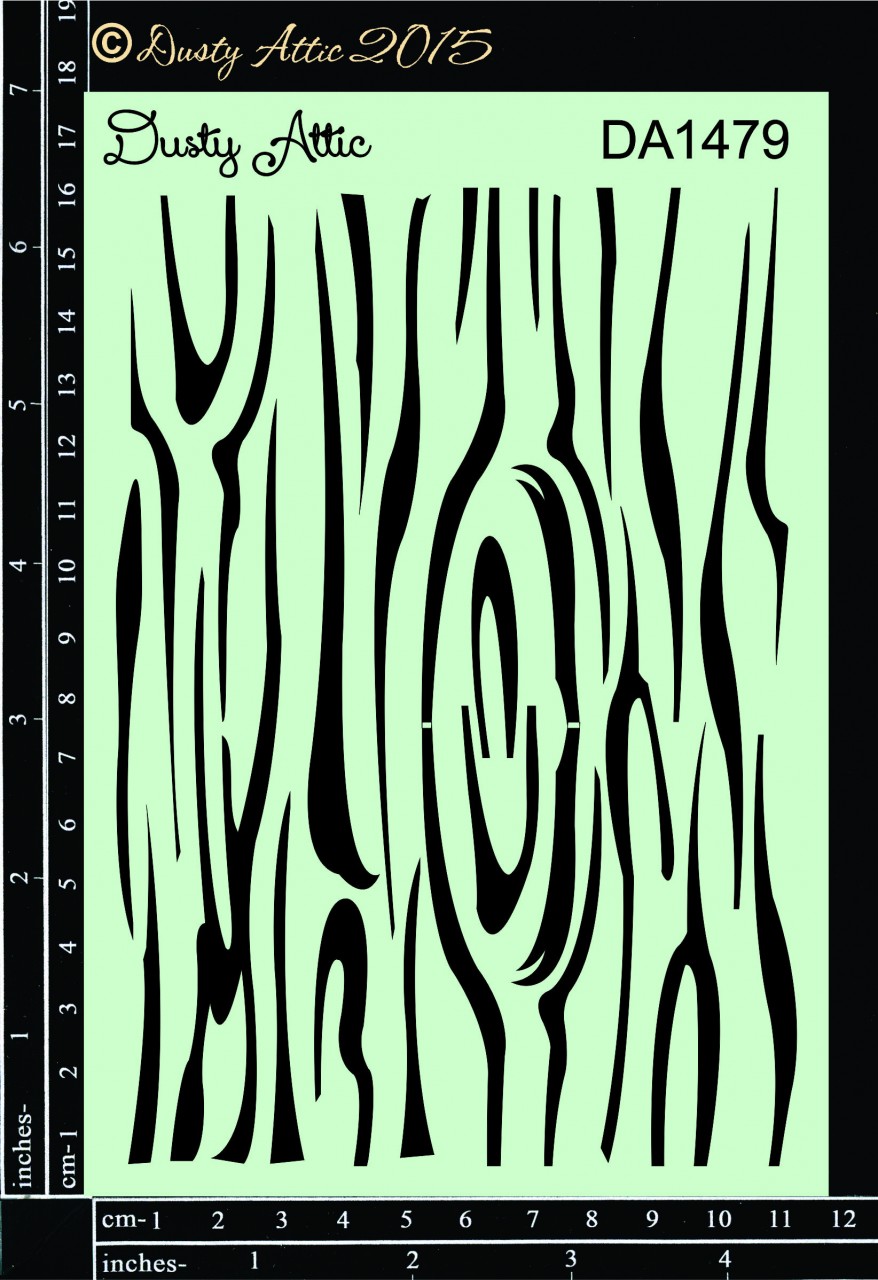
I wanted to use chipboard in a way that bought the nature on the page that featured in the photo. I painted the fence palings with a mixture of browns and added texture with rust paste and wood grain stencil. Once dry, paint on various different brown inks to add the wood grain colour to the chipboard. Tip - I cut the palings to size to fit behind the photo. Trace the ends onto the cut end to have the shaped top of the other pieces. 

Paper base - I used a page from the 49 and Market Tattered Garden paper range. Randomly spread modeling paste with the Dusty Attic burlap stencil. When dry, add various Lindy Stamp Gang madicals in green and brown to added colour to the dried paste. 

Using the larger leafy pieces, cut so that you have 4 pieces (2 larger) and add a green texture. For the pieces that will be laid on top, paint with a lighter green so that there is depth to the layers. (I didn't use the smaller leafy pieces in the 12 in chipboard - save them for another layout).

Once dry, build up the layout and if needed, slightly bend the leafy pieces and glue to make them curve around and under the layout. 

Add the birds (painted brown with a fine line of black on the edges to help define against the other chiboard) behind and using one of the longer ones, glue on so that it supports the work 'everyday'. Painting the words - paint smaller words in brown and add a fine line of white around the edge to define the letters when is sits on top of the other chipboard. For the larger word - paint in Dusty Attic - jungle green - and paint a fine edge in dark brown around the edge of the letters.

Tip - As this layout has several layers of chipboard, you will need to add some smaller pieces of spare chipboard pieces glued in underneath to help stabilise the layout. 

The finished effect should show differnt layers of chipboard and have a layered effect that represents looking through the leaves/brancjes of the forest.


Sunday 9 September 2018

Dusty Attic Living the dream - Sept. Challenge


The moodboard was a wonderful collection of dark greens, rich earthy tones and warmth. It was perfect for my love of grungy textured pages and dark browns and greens. 


The textured background was created by adding a base of clear gesso. Once dried, add a layer of clear crackle and Tim Holtz's vintage medium. It adds to the overall texture and also takes off some of the bright white of the paper. To help blend in the different texutres, sprinkle Lindy Stamp Gang (LSG) Sandra Dee Sepia around the edges and spray lightly with water. Using a Dusty Attic chicken wire stencil, randomly add around the edge of the main layout with Finnabair Graphite texture paste. To help define the stencilled texture, spray with LSG Opal Sea Oats ( a favourite colour of mine). 

To lighten up the  texture, a thick scrap of Finnabair White Crackle paste - dry carefully to make sure you get plenty of crackly on the surface. Once dry use  LSG magicals 'greased lightin' green' and sprinkled over the surface add a green tone in contrast with brown/black colour of the page. 

The chip boards were painted with browns, textured Prima pastes 'dark olive' and Tim Holtz Distress oxide inks. Put together by adding the chip boards on top with foam tape underneath to raise up the pieces. The 'living the dream' frame is cut so that it can be slid under the make photo. Use the large filmstrip as the starting point. 

To finish off, add fussy cut butterflies (covered with clear crackle paste), glue Prima Art Stones (large and mini) for definition of the large film strip. This also helps add contrast with the darker colours and chip boards. The final step is to flick white gesso flicked over the page. 


Saturday 1 September 2018

September More Than Words Challenge


More Than Words Challenge

I was inspired by the warming SUNSHINE coming through the window on a cold day. The vision of the YELLOW flowers outside on the window ledge led to a creation of bright floral yellows and oranges that had a warm, happy 
and comforting cottage scene.


My pattered paper was from the 49 and Market paper range - Sweet Reflections. Layers and texture what created using a variety of Lindy Stamp Gang (LSG) magicals and once dry, I used Finnabair Paper Texture Paste to randomly stencil Bricks in and around the layout. Dusty Attic chip board - driftwood was textured with Rust paste and LSG sprays added to add some depth of colour. I also painted Dusty Attic branches and words discs to layer in and around the layout. My photo was placed on a photo mat of wood grain pattered paper that was distressed. 

Flowers - I used a range of 49 and Market flowers and sprayed with LSG sprays to match the overall look of the page and the flowers in the photo. 

To finish off I added more LSG sepia coloured magicals and sprays were used to add an aged look to the strips of wood grain paper and underneath the photo and on the bricks. This gave the layout depth and also added an aged, shadow look to replicate the view out of the window and the interior. 


If you have enjoyed my layout you are welcome to leave a comment for me.

Link to the More Than Words Challenge

http://morethanwordschallenge.blogspot.com/2018/09/september-2018-main-challenge-sunshine.html